So you have ordered your polytunnel and are busy thinking about all the fresh fruit and veg you’ll be growing over the coming months! Between the tunnel arriving and getting planting however, you’ll need to put the tunnel up and the better you build the tunnel, the longer it will last, so we thought we’d give you a few tips on some key preparation elements!
First is the dirty work, we strongly advise preparing a trench around the edge of where your polytunnel will be situated; the trench should be right at the edge of where your tunnel will sit so as much skirt as possible can be buried into the ground. This significantly strengths the tunnels ability to weather storms and high winds and is essential on exposed plots.
An additional measure that might be worth considering if you live in a very exposed area is to use stakes or pins at the corners to create post to secure the tunnel to. This is by no means necessary on sheltered plots but can make all the difference on ones that regularly see high winds. We also sell a range of fixing kits and pins that can help keep the tunnel secure to the ground here.
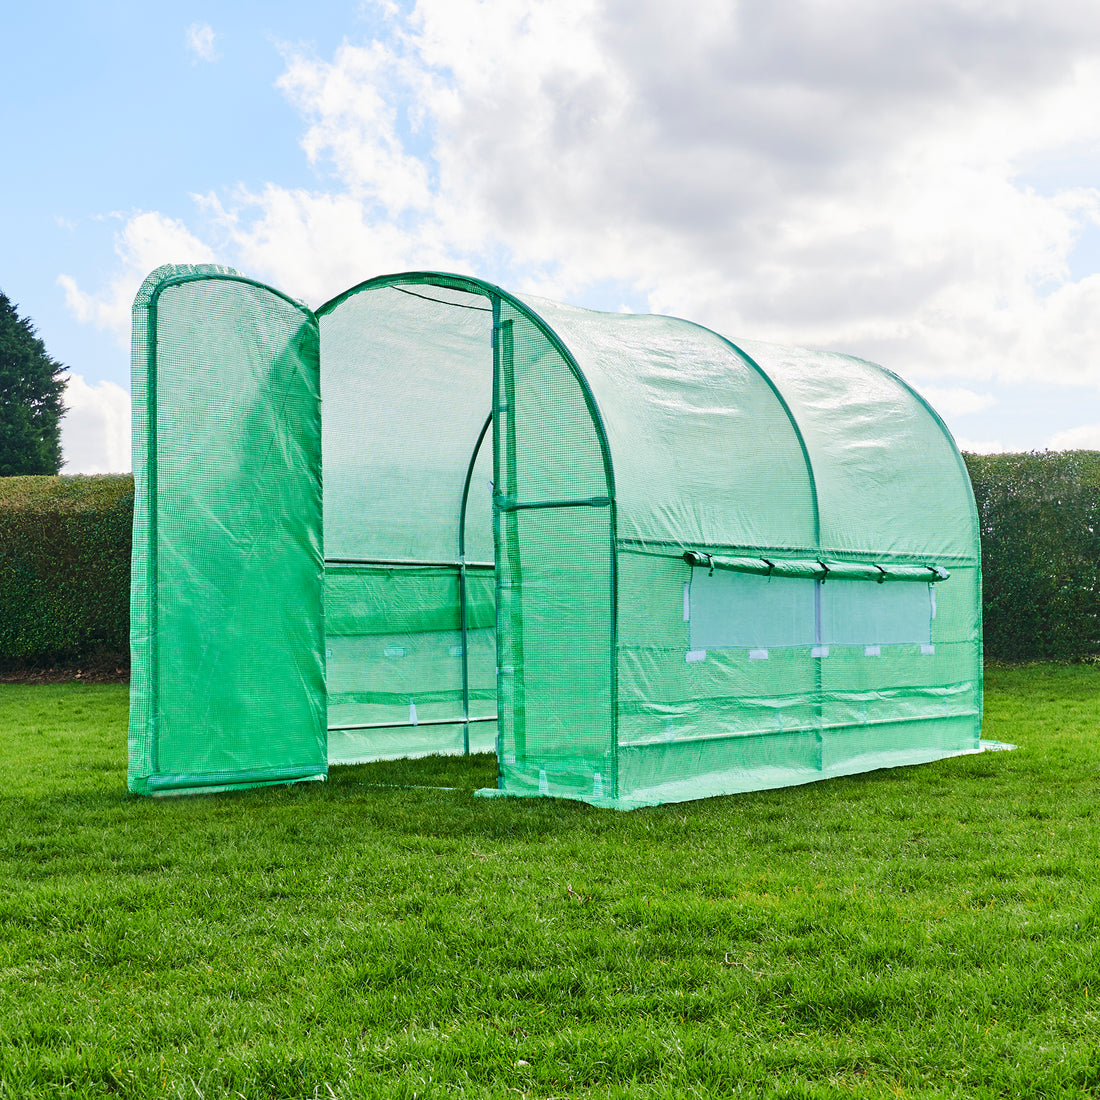
If you buy a polytunnel from us we'll include all of the tools required to build it, the frame largely clicks together with some bolts required on supporting bars and the door. We advise having two people ready to fit the polytunnel cover as they are designed to fit very tightly to the frame and an extra bit of strength is always helpful.
Before fitting the cover now is the opportunity to fit hot spot tape across the frame. Hot Spot tape is essentially a roll of padded foam that helps to stop the cover rubbing on very hot points of metal. This may not be necessary on the entire frame but can help extend the life of the polytunnel if used on the frame that sees the most sun...it can get very hot in there and it helps protect the cover.
Once the cover is sitting nicely, you can burry the sides of your tunnel cover in the surrounding trench, making sure you keep things tight and don’t get any unwanted pleats in the cover. While burying the cover, keep stamping the earth down to really pin the cover securely.
Once you have finished stamping down the surrounding ground, get some good, heavy stones, bricks, or similar and place them all the way round the base of your tunnel et voila! you have now prepped the ground, built your tunnel and ensured the structure is as secure and strong as can be.