So you have ordered your polytunnel and are busy thinking about all the fresh fruit and veg you’ll be growing over the coming months! Between the tunnel arriving and getting planting however, you’ll need to put the tunnel up and the better you build the tunnel, the longer it will last, so we thought we’d post a few images of a really well-built tunnel that you can refer to!
We often get photos from proud customers (keep them coming!) of their tunnels and results, but these images from France-based poytunnel customer Lynne, are straight from the “How to build your polytunnel” textbook (if one exists!). Thanks for the images Lynne!
First up, a great image showing the complete tunnel frame. First thing to note is the trench that’s been dug around the frame, ready for trenching-in the polytunnel cover. The trench is nice and deep, and has been dug right up to the outside edge of the frame. Don’t dig your trench any distance outside the frame footprint, as this will mean you have less cover buried in the trench.
You can see how close the trench is dug to the frame in the second image down.
 Second thing to notice here is that Lynne has added some stakes to the polytunnel frame where it’s legs meet the ground. This is not essential, but is a fantastic idea for ensuring the tunnel is strong and resistant to big gusts of wind etc. You can see in the image that longer wooden stakes have been used on the frame corners, which again is a great idea for adding rigidity. You can make ground stakes from any wood you have lying around and secure the frame to the stakes with zip-ties, wire, etc. Knock the stakes in nice & deep to ensure they are super-strong!

The final thing to note here is that Lynne has used some gaffer tape/duct tape on the joins in the frame. Again, this is not essential as the tunnels have good swage-joints throughout, but while you are putting the frame together, why not!? It will only help keep the frame secure and robust into the future.
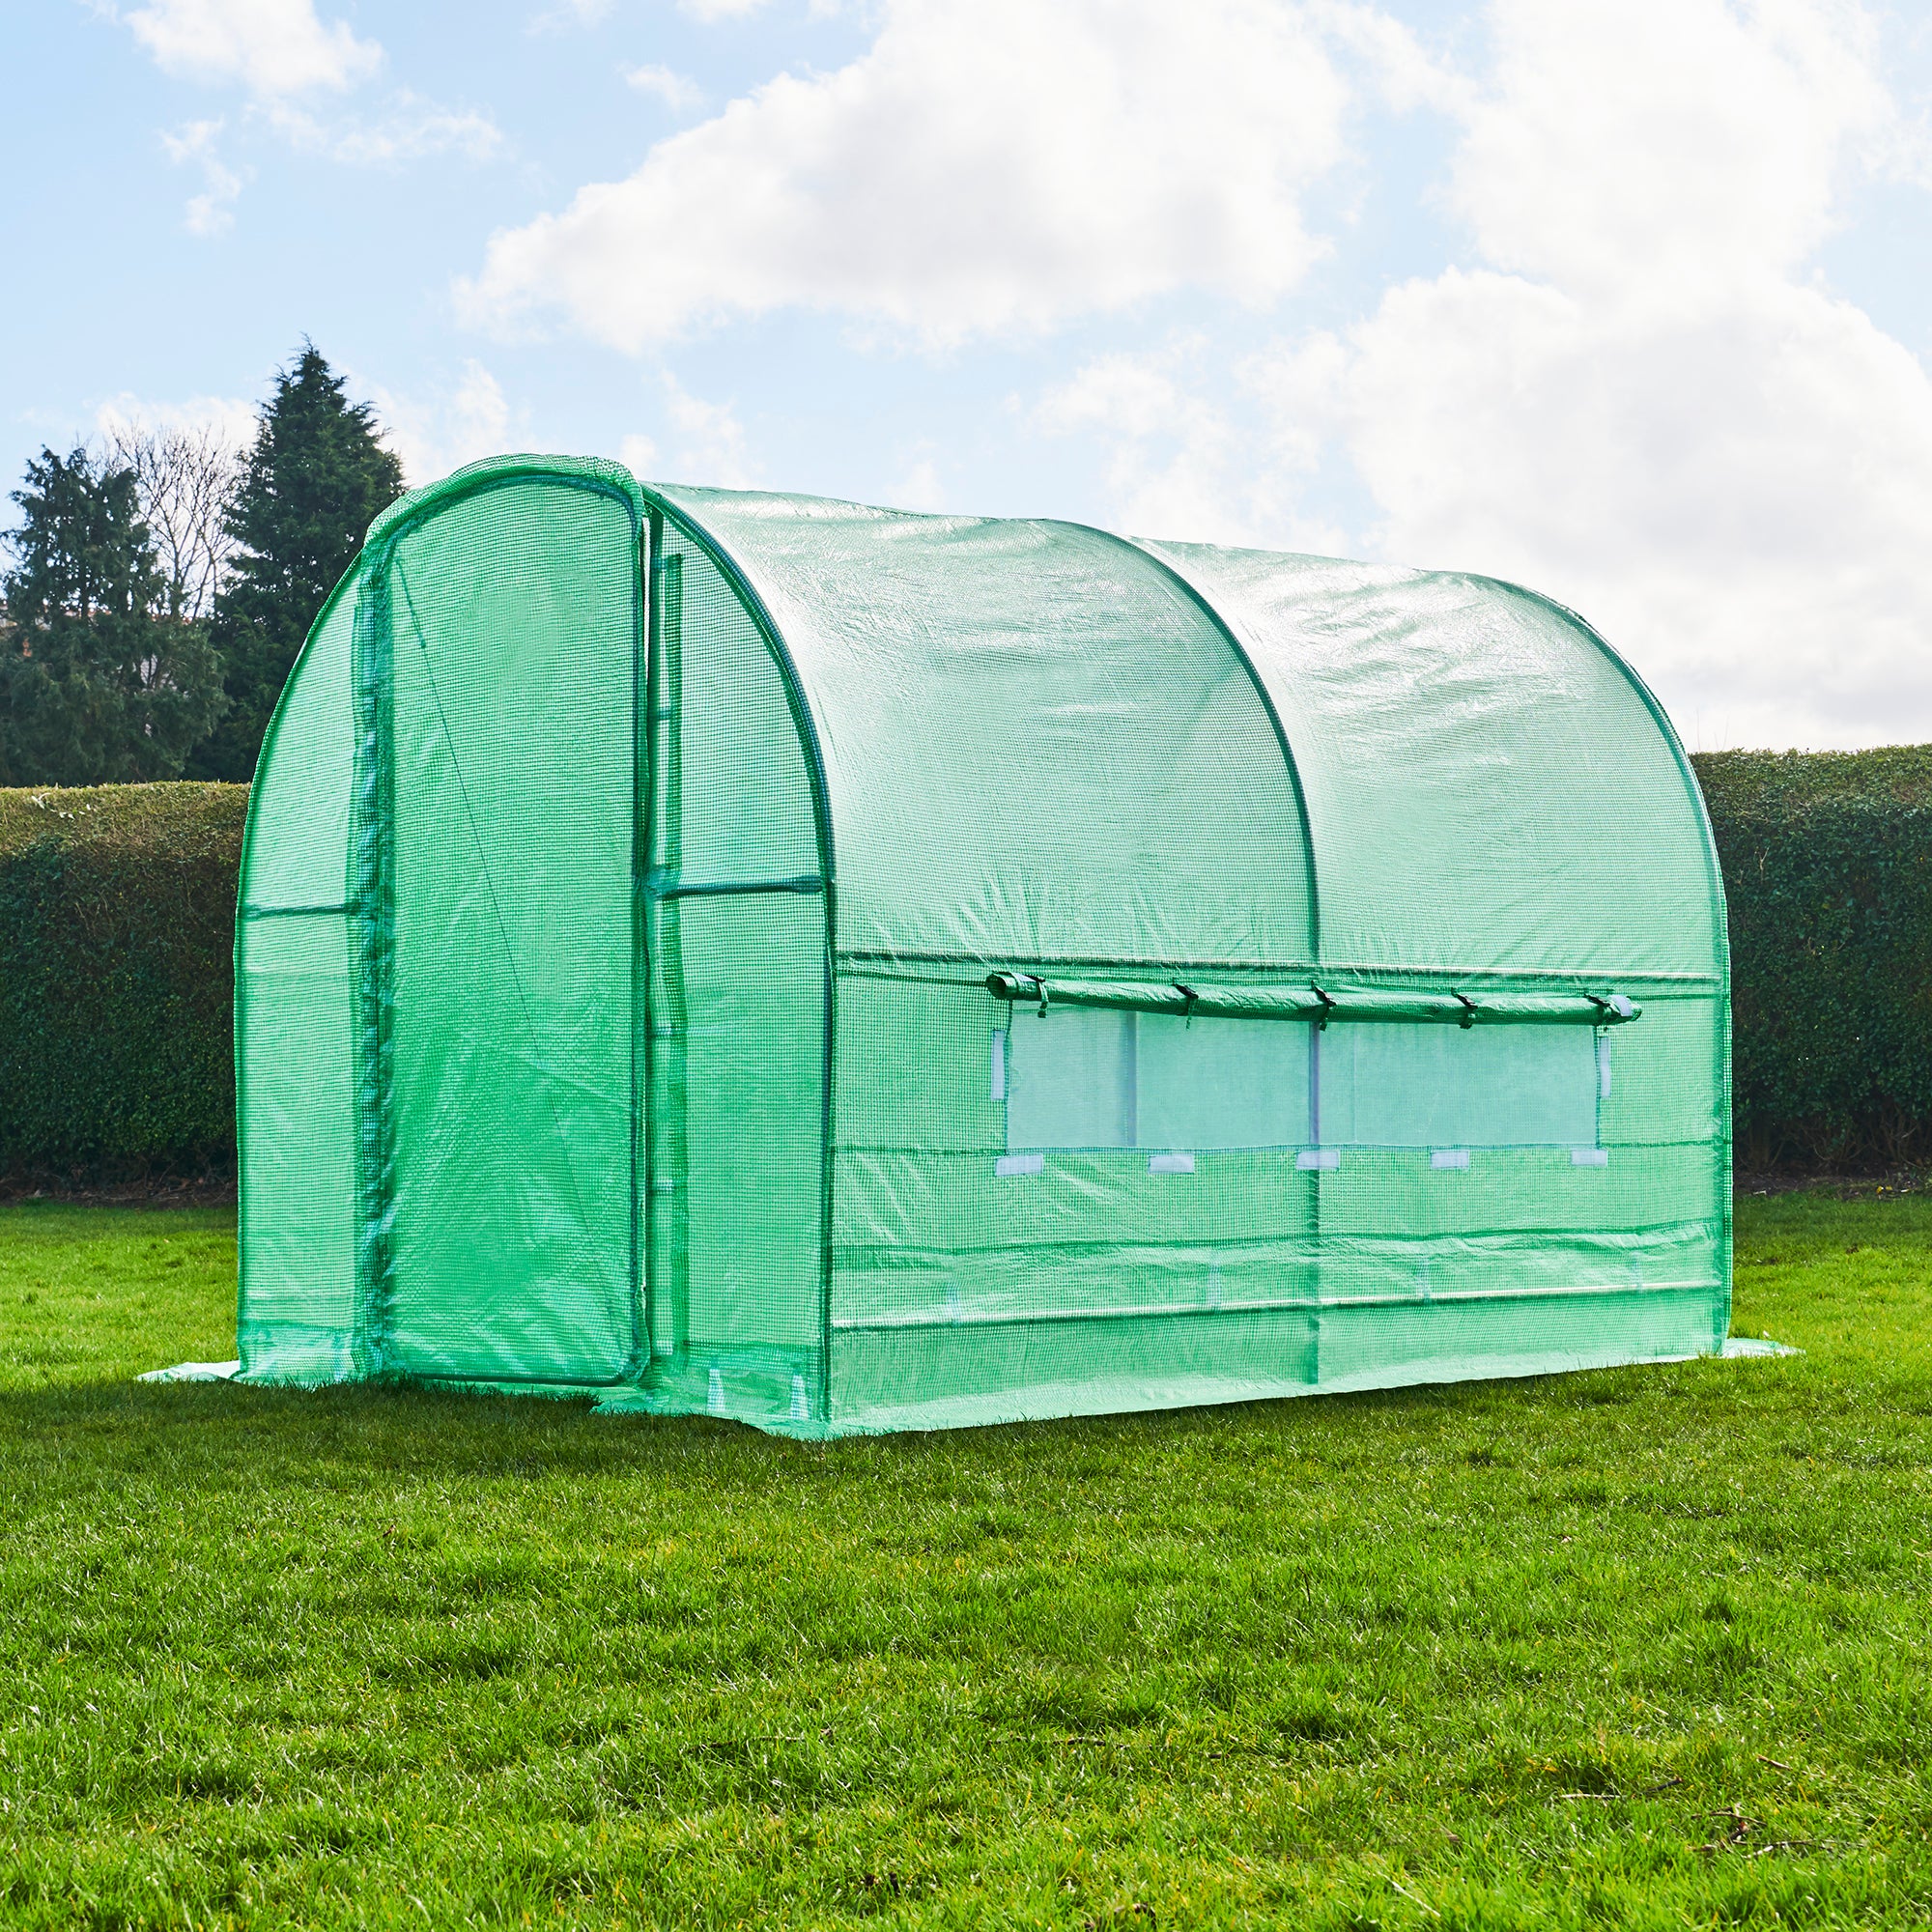
Next up, we have a picture of the super-secure polytunnel frame wearing it’s cover. It’s a good idea to get the cover sitting nice and square on the frame before you attempt to secure any of the cover sides. Having a friend to help out is great here, as you can both tension the cover properly and ensure there is no sag or tight-spots.
 Once the cover is sitting nicely, you can burry the sides of your tunnel cover in the surrounding trench, making sure you keep things tight and don’t get any unwanted pleats in the cover. While burying the cover, keep stamping the earth down to really pin the cover securely.
Once you have finished stamping down the surrounding ground, get some good, heavy stones, bricks, or similar and place them all the way round the base of your tunnel. As yiou can see in Lynne’s photo, these rocks really add some weight to your build and keep the earth around the tunnel from being weakened by rain etc.
Lynne sent a few more shots of early polytunnel growth and you can see in the image that a wooden path has been laid through the centre of the tunnel, which is a great idea for keeping your barrow or boots off your plants etc!
So there you have it… A text-book polytunnel build in easy to follow images.
See our full range of polytunnels and accessories here.